
How to Re-Caulk Your Bathroom
When it comes to preventing water damage in your bathroom, caulk is key. This waterproof sealant helps close off seams around your fixtures. It’s important that your caulking stays in good condition to prevent mold or mildew growth. If you’ve noticed your caulking is starting to peel or flake, it’s time to roll up your sleeves and re-caulk!
Don’t be intimidated! Re-caulking is a relatively simple DIY task. All you’ll need are a few tools, a tube or two of caulk, and a little patience. First, let’s cover some of the most common signs that it’s time to recaulk.
Checking for damage
The most common problem areas for caulking are any places where water collects. For example, the corners of the shower/tub and the countertop around the sink are common areas to check for damage. In a stand-alone shower, the seam where the wall meets the floor is a common problem area as well.
Key signs that you need to re-caulk include:
- Cracking or peeling caulk
- Discoloring (yellowing)
- Caulk shrinking back
- Mildew growing on or out from behind caulk lines
If you notice any of these common problems then re-caulking is your best option. This is especially true in the case of mold or mildew growth.
How to re-caulk your bathroom
Here are the 5 simple steps you’ll need to follow in order to re-caulk your bathroom:
Step 1: Get the right tools for the job:
-
- A putty knife, razor blade, or a specialized caulk tool
- Bathroom safe caulk
- A caulk gun
- Rubber/latex gloves
- A damp cloth
- A few hours, and some patience
Step 2: Remove all old caulking
This is a key step! Don’t skip over it and try to apply new caulk directly on top of the old. You’ll end up with a lumpy mess. Not to mention that old peeling caulk will continue to peel, taking the new layer off too. There are several different methods you can use to remove the sealant. Scrape it away with a putty knife, a razor blade, or a specialized caulk removing tool. Work slowly and carefully. You don’t want to scrape or gouge your bathroom fixtures! If you’re dealing with particularly stubborn caulk, you may need to buy a caulk removal solution to make it easier to remove.
Step 3: Clean the area WELL
Use a diluted bleach solution (3/4 cup of bleach to 1 gallon of cool water) to clean out the freshly exposed seams. If you’re replacing caulk due to mold or mildew, you need to clean VERY thoroughly. If you don’t destroy the mold at the source, it will grow back through your caulking again and again. Look into professional mold remediation services if you’re dealing with stubborn recurring mold. Mold can cause serious health problems if left unchecked, so it needs to be addressed quickly.
Let the area dry completely before you move on to applying the new caulking.
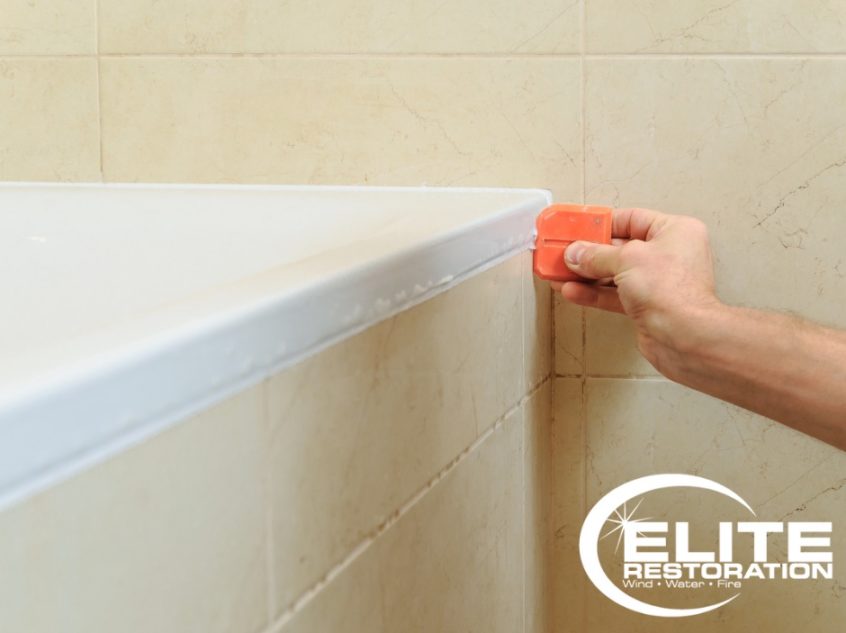
Step 4: Apply the new caulk*
To open your tube of caulk, follow the instructions included on its label. Use two hands to keep the applicator steady, and don’t apply the bead in a single line. Rather, start at the end of your seam and run your caulking to the center point. Then do the same to the other side. By doing this, you make sure that you won’t need to change your grip midway through the application process. You can work in even smaller sections if you’re sealing a long seam, such as where the bathtub meets the floor. Wipe the end of the tube with a damp rag after you run each bead to prevent and built up globs from falling onto your hard work!
*if you have a hard time laying a clean line, you can use painters tape to mask off the area. Simply run your bead in the seam, smooth it down, and remove the tape for a clean and neat seam!
Step 5: Smooth it out
The final step is to smooth down the caulk. You can also do this while you work if the caulk you’re using has a short curing time. While wearing a rubber or latex glove, use a finger to smooth down the new sealant. Practice the same method as you did when applying, moving in short sections. Trying to smooth out a seam all at once will cause it build up and overflow. Use a damp cloth to wipe away any splotches or messy areas. If you’re using a rapid curing caulk, you may need to trim away the excess with your putty knife.
Re-caulking can be time consuming. However, a clean and refreshed bathroom is well worth the time. You can use the tips above on your shower, bathtub, or bathroom sinks. Properly removing and installing caulk will provide you with years of protection from pesky water damage. If you’re already dealing with water damage, Elite Restoration can help! Our team of Idaho water damage restoration specialists is here 24/7/365.
Contact Elite Restoration today!