
Removing Mold From Your Drywall
Drywall is like a vital organ for homes. It can help with functionality (such as sound-proofing), but one of its major benefits is safety. For example, most drywall helps with fire resistance and mildew prevention. However, that doesn’t mean that water damage can’t occur, and often, water damage leads to mold.
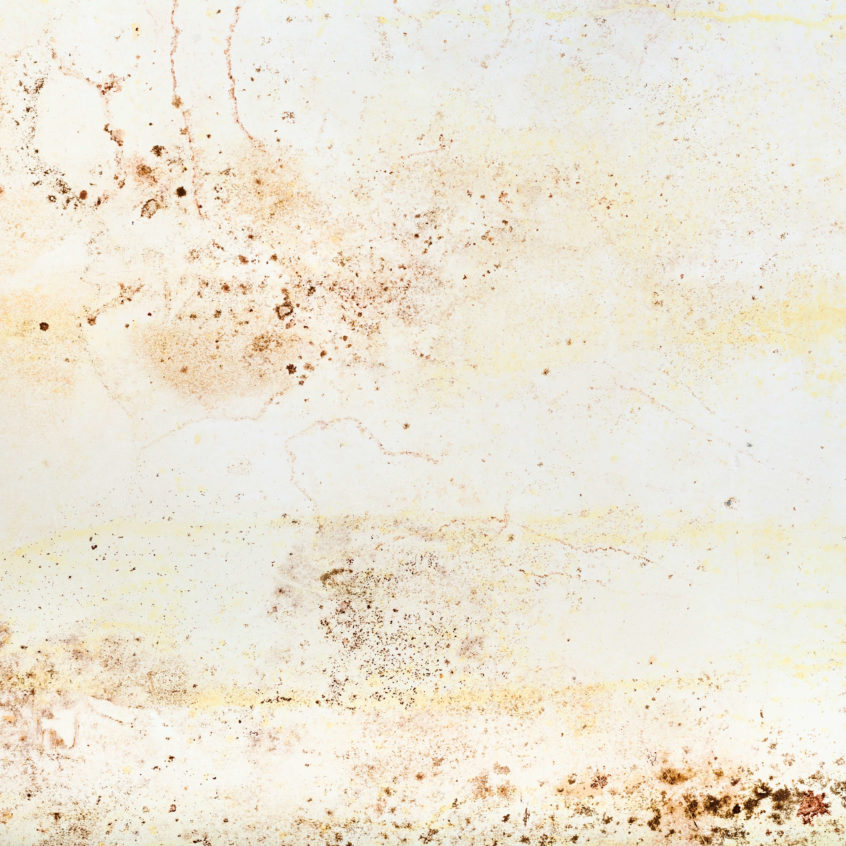
What do you do if you suspect that some of the drywall in your home has mold? If there’s a wall in your house or business that has suffered water damage (common locations include basements, bathrooms, attics, and areas near appliances that use water), there’s a chance that mold might have grown if the wall was not tended to properly or quickly enough.
If you don’t see any actual mold, but you notice a damp, musty, rotten, or stale smell – whether there’s been water damage or not – pay attention to that. That could be mold you’re smelling!
We all know that mold poses serious health risks, and it’s always wise to consult a professional to see what you’re actually dealing with. But if you’ve done your research and are sure mold has taken root in your drywall, this quick guide will help you go about ridding your home of this menace.
1. Determine the affected area. Slight mold on the exterior wall can typically be cleaned with bleach and water, but even if there’s only a small section of drywall affected by mold, it’s usually worth it to replace the whole piece of drywall to prevent possible spreading – just in case. Thankfully, this doesn’t mean replacing the entire wall! Use a pencil to draw around the area with the mold that needs removing. This is where you’ll be cutting the drywall away, so be sure to draw a few extra inches to ensure you get rid of all the mold. Be sure to be wearing protective gear during this process – goggles, face mask, and gloves!
2. Cut. Where you marked the drywall with pencil, cut using a utility knife. Inspect the remaining drywall that surrounds where you made the cut for any additional mold – if any’s there, cut it away too.
3. Throw away the drywall and clean the wood. This step is as easy is it sounds: throw away the piece of drywall you cut out containing the mold, and any additional pieces you had to cut afterwards. Any mold on the wood behind the drywall can be cleaned by sanding down the area of the wood with the mold and then cleaning it with a homemade mixture of one part water and one part bleach.
4. Repair the drywall. In order to do this, measure the space you cut out from the original drywall and cut out a new piece with those measurements from a new sheet of drywall. If it doesn’t pop right in, it can be cut down as needed. Use drywall tape around the edges for extra security, and proceed to spackle and paint as desired.
There you have it – simple, DIY moldy drywall repair! After completing your project, be sure to brush up on your mold-preventing skills here, and as always, feel free to give your local Elite Restoration office a call at any time and we’d be happy to answer your questions about mold removal.