
How to Winterize Outdoor Faucets/Spigots
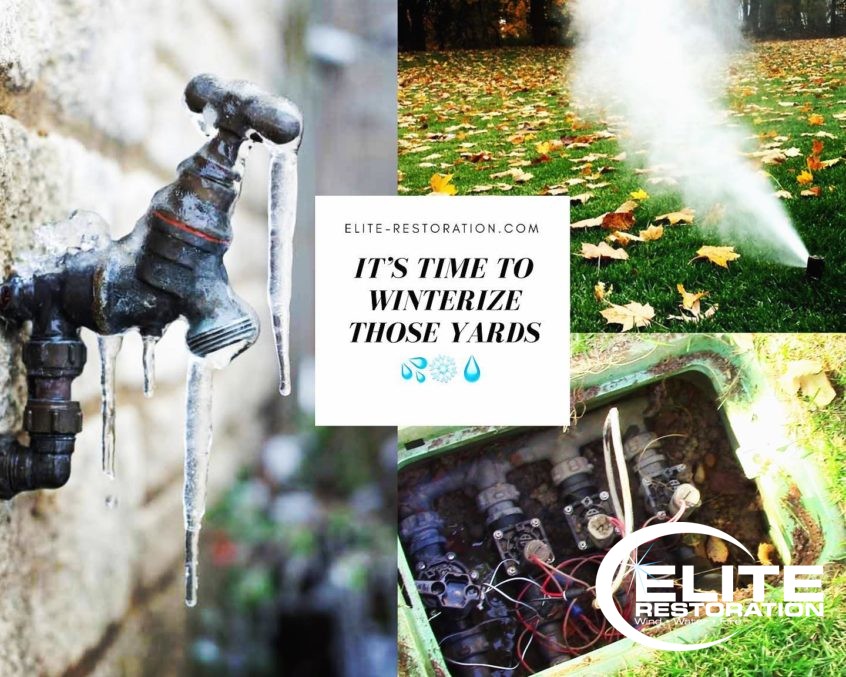
It’s that time of year again! The time of year where homeowners must start prepping their yards for winter. The best way to minimize the damage from cold weather on household plumbing is to do a little preventive winterizing. Burst water pipes can cause thousands of dollars of damage when water soaks walls, ceilings, and floors, so taking some preventative measures is the best move to make.
A good starting point is to winterize outside faucets (hose spigots). This is relatively easy to do with simple insulated covers that fit over the spigots, which cost between $10 and $20 at home improvement centers. Installing these covers, along with performing a few simple winterizing procedures, can prevent outdoor faucets from rupturing due to freezing.
Keep in mind that while there are specialty outdoor spigots marketed as “freeze-proof,” there is no guarantee that these faucets will not freeze in the coldest weather. Even these faucets can benefit from outdoor faucet covers properly installed. Long term, though, installing freeze-proof spigots is a good next step to avoiding problems. This is best done while the weather is still above freezing.
How Outdoor Faucet Covers Work
Most faucet covers use one of two styles. Either they are made of rigid thermal foam with a flexible gasket along the edges, or they are flexible insulated bags that secure around the spigots. If they are properly installed so that they seal tightly around the base of the faucet, either style provides good insurance against spigots rupturing due to freezing.
Faucet covers work by trapping heat that naturally radiates through the interior pipes to the outdoor spigot. The insulated cover prevents this radiated heat from escaping and therefore prevents water in the faucet from freezing, expanding, and rupturing the spigot.
Outdoor faucet covers come in several different styles. Manufacturers may market them under several names, including “garden faucet insulation cover” or “insulated faucet socks.” All of them will do the job, but for best results, they need to seal tightly so they can provide thermal protection.
Installing Outdoor Faucet Covers
- To install outdoor faucet covers, remove any hoses, splitters, or other fittings screwed onto the spigot before winter sets in. Not removing hoses can trap water and make it much more likely a faucet will freeze.
- Next, be sure to inspect the spigots for any leaks and then repair them. Check all spigots, yard hydrants, and other fixtures for leaks and drips. If you do find any problems, repair or replace the fixture before the temperature drops to freezing. Dripping water indicates a spigot with a leaky washer or cartridge, which can block up and freeze in the spigot or in the pipe feeding it.
- Then drain the spigot and pipes by getting out as much water out of the pipes. After the water drains out, close the spigot again.
- Finally, install the faucet covers. To do this, install an outdoor faucet cover on each outdoor fixture, including frost-free spigots. Faucet covers are either square or dome-shaped shells that fit right over outdoor faucets, or they are flexible bags made of thick fabric stuffed with insulation.
When covering regular spigots (not freeze-proof), extra loose insulation can be installed inside the faucet cover to keep it warm and dry throughout the winter. In most situations, however, the faucet cover will provide enough insulation.
Frost-free spigots should be covered, as well, because, although they are resistant to freezing, they are not completely frost-proof in the coldest weather. There are rubber gaskets and washers inside the frost-free spigots that will benefit from the extra protection from the cold.